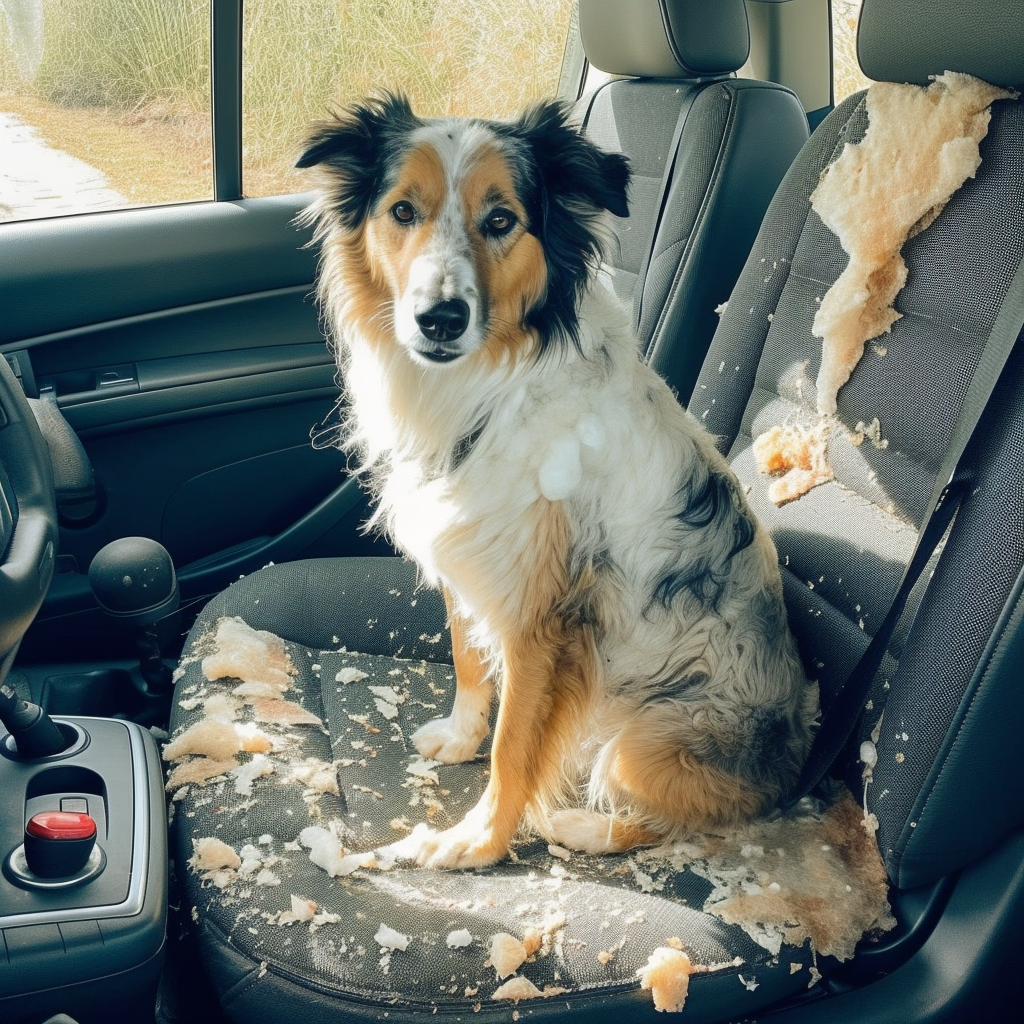
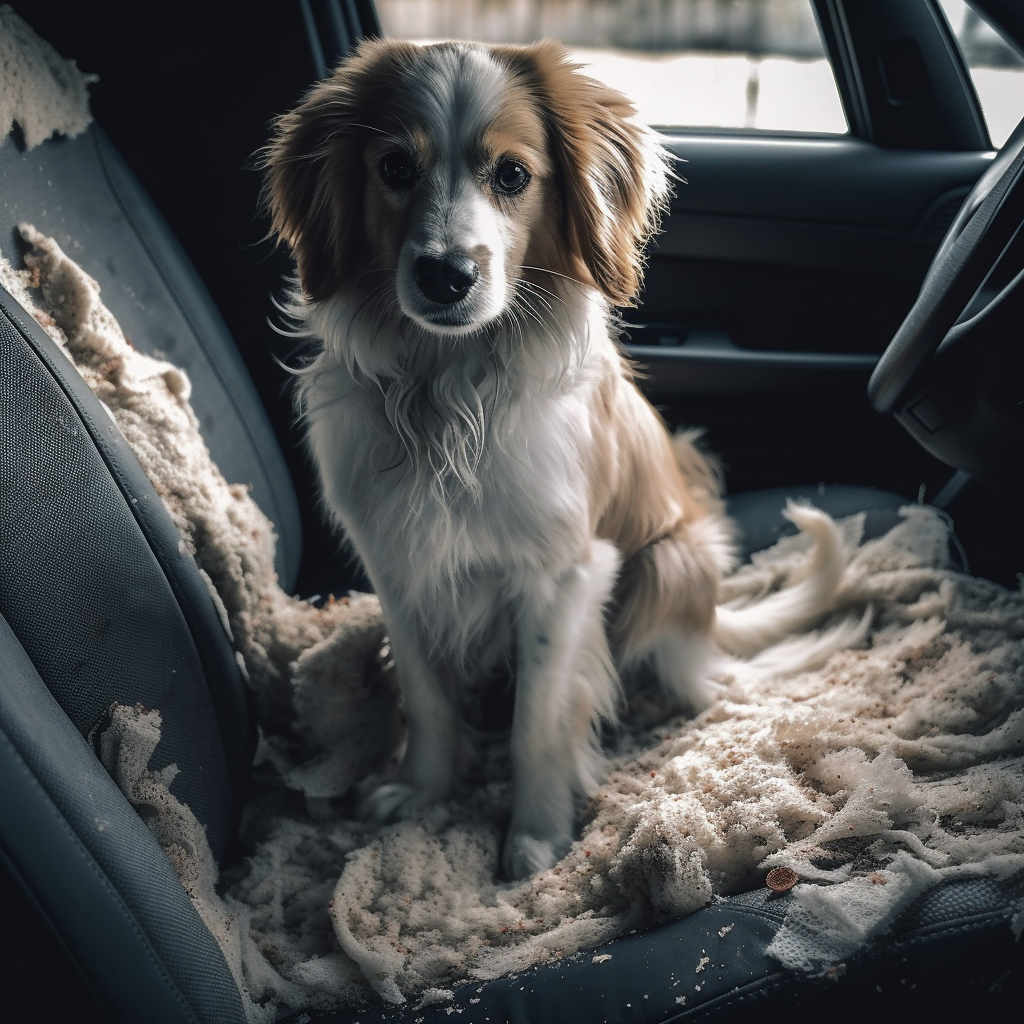
If you travel enough with your canine companion, accidents like rips or tears in your vehicle’s upholstery are bound to happen. While these incidents can be frustrating, they’re not the end of the world. With a little know-how and some patience, you can repair your vehicle’s upholstery and make it look as good as new.
Let’s walk through the process of repairing upholstery damage caused by your dog.
Assess the Damage
Before you can begin repairing the damage, you’ll need to assess the severity of the rip or tear. Examine the upholstery closely to determine the extent of the damage and decide whether you can tackle the repair yourself or if you should seek professional help. If the tear is small and confined to a single area, you can likely fix it yourself using one of the methods outlined below. However, if the damage is extensive or affects multiple areas of the upholstery, you may need to consult a professional.
Gather the Necessary Supplies
Depending on the repair method you choose, you’ll need various supplies to get the job done. Here’s a list of items you may need:
- Upholstery needle and thread
- Fabric glue
- Fabric patches
- Scissors
- Tweezers
- Seam ripper
- Iron
- Upholstery cleaner
Choose Your Repair Method
There are several ways to repair rips or tears in vehicle upholstery. The method you choose will depend on the size and location of the damage, as well as your own skill level and the tools you have at your disposal. Here are three common repair methods:
- Sewing: This method is best suited for small tears in areas that are not highly visible. To sew a tear, you’ll need an upholstery needle and thread that matches the color of your upholstery. Begin by threading the needle and knotting the end of the thread. Then, sew the two sides of the tear together using a tight whipstitch, being careful not to pull too tightly to avoid puckering the fabric.
- Patching: For larger tears or those in highly visible areas, patching may be a better option. Start by cutting a fabric patch that is slightly larger than the tear. Apply fabric glue to the back of the patch and press it onto the damaged area, ensuring that it covers the entire tear. Allow the glue to dry according to the manufacturer’s instructions. Once the patch is secure, use an iron to gently press the repaired area, ensuring a smooth finish.
- Seam repair: If the tear is along a seam, you can often repair it by simply re-sewing the seam. Use a seam ripper to carefully remove the existing stitching, then re-sew the seam with a matching thread.
Clean and Condition the Upholstery
After completing the repair, clean the area with an upholstery cleaner to remove any dirt or residue from the repair process. Then, apply a fabric or leather conditioner (depending on the material of your upholstery) to keep the material soft and supple.
Conclusion
Rips or tears in your vehicle’s upholstery caused by your dog can be frustrating, but with a little patience and the right tools, you can repair the damage and restore your car’s interior to its former glory. Whether you choose to sew, patch, or re-sew a seam, make sure to assess the damage first, gather the necessary supplies, and clean and condition the upholstery once the repair is complete.
Matt appears courtesy of HardWorkwithMatt.com. To see more, check out his website focused on completing home and auto repair projects.


